Tuesday, June 30, 2015

Update on the Endpoint Coffeegrinder and disc/fender/light life in general


More product testing.  This is hard work!  Nox Composites Skyline rims with some fat, Soma Grand Rando 650X42 tires on them.  Dynolyfe proves to be worth it (Son28).  No more battery lights for me (Luxos U front and B&M Toplight rear)!  Yes I know that's ironic considering the bike has Ultegra Di2, but I don't have to charge that every couple of days.  I always head that the spread on these German lights were better than the typical batter light, including the Light and Motion Taz 1200 I used to have.  All it took was one night right to prove correct.  The beam is far more suited to road riding.  


I went with SKS Longboard fenders this time.  650b fender options aren't as vast yet.  These are nice, but could use a little more length on the backs.


Disc brakes?  Yes, I always hated that rim scraping sound in the trails.  Also, I still have 700c wheels for this bike so I can always strip the fenders and make it a dedicated road machine.  It would take about 10 minutes.  For now, the is the setup I'm keeping together.  It give me all the riding experiences ranging from 100% road to hopping into some easier singletrack.  The bike is pretty quick in both environments.


Don't forget to add a front flap to your rear fender!!!

Friday, August 22, 2014

Here's how I measure hubs.

You need a set of parallel ends for this to work properly.  I use the ends of my Park TS-3 stand.

1)  Measure the total hub width.  This is referred to as the O.L.D. (Over Locknut Distance).

2) Measure the distance from end to flange.  I normally work with the left flange since I can brace the rest of the calipers against the stand for accuracy.  This picture is for demonstration purposes.
3) Measure the width of the flange.  I prefer to so this at a spoke hole.  Be sure to angle the calipers so they are parallel to the flange.  Some flanges angle towards the rim.
4) With those measurements, calculate.  Subtract end to flange measurement from half the O.L.D.  Also subtract half the flange width to this number.  The result is an accurate center of hub to center of flange measurement.

5) For the P.C.D. (Pitch Circle Diameter), I have another caliper that has what are called centering gauges on them.  I had to grind the sides of my centering gauges to clear the cassette carrier.  Remember that PCD is not to be confused with the overall diameter of the flange.  You need to measure the diameter of the circle created by the spoke holes in the flange.
6) Last, you need to measure the diameter of the spoke holes.  This is easily done with a standard set of calipers so I didn't include a pic.

With these measurements you can accurately enter them into any spoke calculator.  I recommend the spocalc.exe by Damon Rinard.  It's online, can be downloaded, and free.

Saturday, April 12, 2014

My Endpoint Coffeegrinder.

Fellas get ready for this.  Endpoint is a new brand.
http://rideendpoint.com/
This is the Coffeegrinder.

I got wind of this project early and received a first production run frameset.  Frames are made here in the goodoleUSofA.  Basically it's a road bike with disc brakes, but the frame deserves a better explanation than that.  This is a bike that rides as spirited and any of my race bikes.  The biggest difference is that it can clear much bigger tires and also leave room to cover them with fenders.  Until now, I had to decide between the two.  The disc brakes sealed the deal for me.  No more rain rides grinding away my rims and leaving a black mess all over the bike (and my hands).  This is the bike I will reach for 80% of the time.  I just does everything so well. 

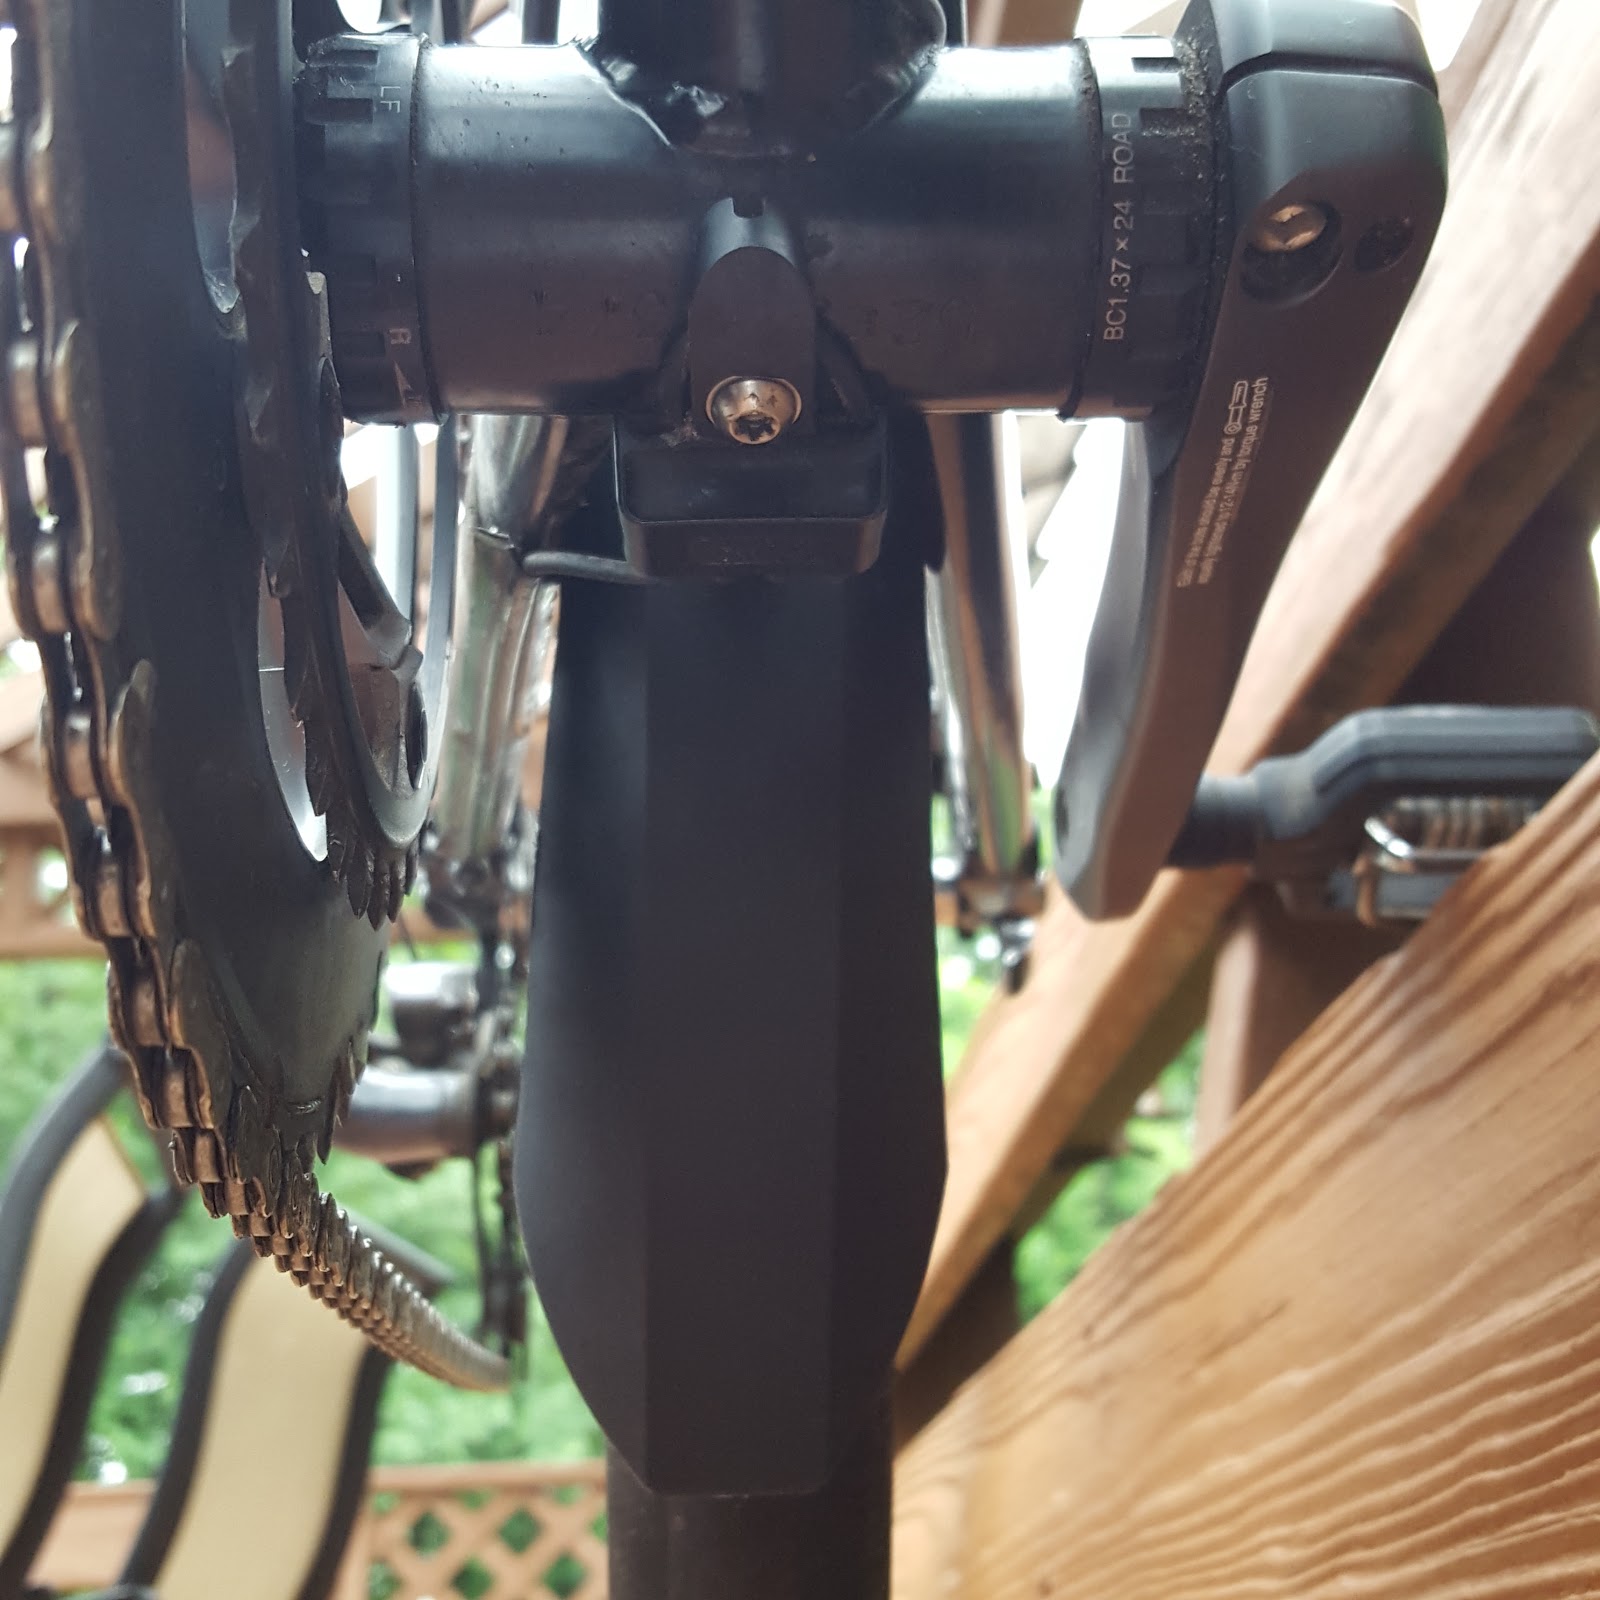
I went with Ultegra Di2 hydraulic.  I can't begin to say how excellent this group is.  It took me one evening to learn how to run the hose, add fluid, and bleed.  This is not something to be scared of.  Now that I did it once, I can set up the brakes almost as fast as a cable brake setup.  Bonus is no cables to gunk up and replace.  Same can be said about the shifting.  The setup was far easier than cable.  The adjustment will also stay put.  Initially, I wanted to route the wiring internally.  When that proved to be more hassle than it was worth, I sighed and ordered up the external setup.  Now I'm convinced that it was the right choice.  Everything I need to do if there's a problem can be accessed out on the road.  I keep and extra wire with me in case something should happen.

A lot of riding I do is in the dark so lights are a must.  I've also had enough close calls to leave them on all the time.  Having a very visible blinky all the times (front and rear) is a good idea.  Anything that can catch the eye of a driver sooner is good in my book.  These lights are super (Light and Motion).  Besides the usual power settings, each light has a pulse effect.  They don't have that immediate on/off effect that can be harsh to people's eyes in lower lighting.  They gradually pulse on and off.  No need to piss off the very people I'm asking not to kill me.  Finally, both lights have side facing ambers for better visibility.

The wheels.  It took a few paragraphs, but here goes.  The Shimano CX-75 seemed like no brainers.  The price is right and Shimano is known to make a good hub or two.  The quality is Ultegra level featuring a steel freehub body to last.  Center lock was a must to run Shimano's Ice Tech.  I'm a Campagnolo guy, but Shimano owns this segment right now.  They have the history of working technology to make everything just right.  The rims are Stan's Iron Cross.  They can handle about 60psi and that's all I plan on putting in the tires.  At that pressure, the Hutchinson Secteurs (tubeless) ride perfectly.  Handling felt confident and I didn't feel like I lost anything in the rolling resistance department.  If I did, it's worth it.  After this winter, the roads are littered with debris and nasty potholes.  This setup is exactly what I need.

I haven't been this excited about a bike in 10 years.  Sure there have been great updates to the modern road bike, but nothing like this.  This bike smashed through all of the limitations I've dealt with over the years and gives me a bike I can take out all the time.  Best part is that I don't feel anything is lost in the effort to make a bike good a lots of things.  It's still and excellent handling road bike that feels light and nimble.  Thanks Braden!!!


Thursday, August 15, 2013

Some exciting news.  I'm happy to announce partnership with November Bicycles to build custom wheels with the new Rail 52 carbon clincher rims.  More information on those rims can be had HERE.

Also, I will be including a sample bottle of NFS (NixFrixShun) chain lube with purchases of carbon wheels and my Signature alloy wheel builds.  I have been using this chain lube for a while now and thinks it's the best stuff out there.  It runs cleaner and longer than the rest.  My drivetrain is shockingly silent!

Pics and more to follow.

Thursday, May 02, 2013

The Alchemy UL rear hub, a deeper look

I would just like to let you know that I got a chance to completely tear down one of the UL hubs under the direction of Jeremy himself.  Suffice to say, the internals are revolutionary.  Like his front hub, the goal was to get the bearings as close to the dropouts as possible.  The outer load-bearing bearings are closer to dropouts by a large margin.  Look where the NDS bearing is here.  It's right behind that dust shield.


For comparison, here is a Tune hub which is similar in design to most hubs.  There is a long axle end on the left side before the hubshell bearing.


Here is the most revolutionary aspect of the Alchemy UL hub.  The drive side bearing is right behind the axle end.  The bearing connects the axle to the hubshell body, not the cassette carrier.  This means that you could technically assemble the hub without the cassette carrier (freehub) and still ride the wheel with full weight.


What you see above is the hub assembled without the cassette carrier.  There is the bearing you can see on the left side of the hub (same as top picture) and the bearing right behind the axle end on the right side.  The right side bearing is under that bearing bore (silver) which is directly connected to the hub shell.  The entire assembly fits inside the cassette carrier.  As a result, the cassette carrier no longer carries any of the rider load.  All the cassette carrier does is transmit pedaling torque.  The outer bearings above support the load of the rider much like the two bearings of a front hub.  The two systems act independently.

Here is another advantage.  While pedaling the outer bearings above are the only two bearings that spin.  Typically, all the bearings of a rear hub spin on other designs.  That is usually 4-6 bearings creating more drag while pedaling.  The Alchemy hub will spin with less drag as a result.  It's a brilliant design that takes the design of a rear hub to a level never seen before.

What does it all mean?  Think outboard bearings for the crankset.  The closer the load supporting bearings are to the ends of the axle, the less unsupported axle there is and in turn the system is stiffer.  I'm quite confident that this hub will allow for at least 4 fewer spoke than a given component choice with other hubs.  This is crucial to builds with lower spoke counts.

Saturday, April 06, 2013

The Alchemy UL rear hub.

The Alchemy UL rear hub.

Here's the first Alchemy UL rear hub built up.


Hub weighs 194g.  The build features the Pacenti SL23 rim using Sapim CX-Rays on the left and CX-Speed on the right side.  Wheel weight is 776g.  

I will have Jeremy explain the features of his new hub.  Better to get it from the source.

Stay tuned.

Tuesday, February 12, 2013